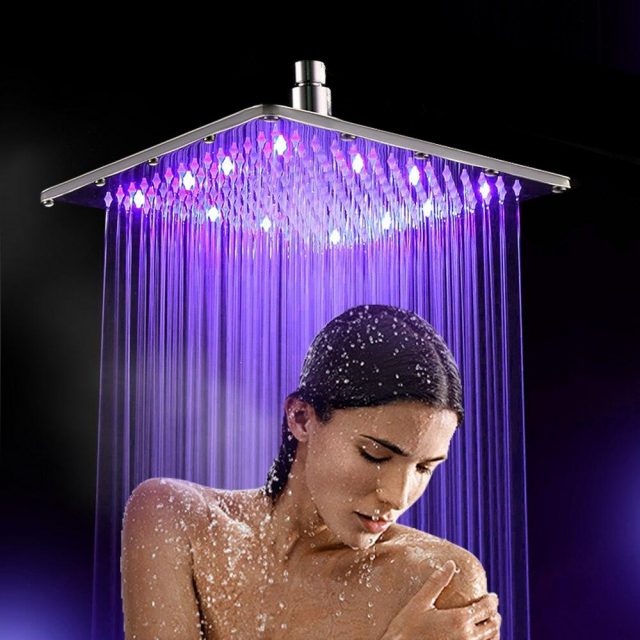
12 inch Color Changing LED Bathroom Shower Head
The color of the LED lights changes according to the water temperature, so you automatically know how hot or cold your shower is and make monotonous showering more fun and romantic.
- The Blue light indicates a water temperature below 30°C / 89 °F
- The Violet light indicates a water temperature between 30°C / 91 °F and 40°C / 109 °F
- The Red light indicates a water temperature above 40°C / 111 °F
The best part: This intelligent LED shower head does not need any batteries or other power input at all because the LED lights in the shower head are powered by water flow.
How does it work? There is a hydroelectric generator inside the shower head. As soon as there is enough water flowing through it, it will generate a safe power supply for the LED lights.
100% Safe, Durable & Energy Saving


Frequently Asked Questions about the 12 Inch Color Changing LED Bathroom Shower Head
Are LED shower heads safe?
Yes, this LED shower head is absolutely safe. The integrated LED lights don’t consume much energy so it doesn’t generate a high voltage current and they are friendly to the environment because they are completely powered by water flow. Using them regularly doesn’t implicate any health risk.
Does this LED shower head need electricity?
No, this LED shower head relies on water flow to power the LED lights. The water flow drives a turbine or generator that in turn produces electricity to supply to the LED lights on the shower head.
Do I need a plumber to install this LED shower head?
No, Replacing your shower head is fairly quick and easy. Just follow the following steps:
Step 1: Remove your existing shower head with a wrench. Set the wrench in place and turn the nut to the left to loosen it. Have a hand ready to catch the shower head when it falls so that the metal doesn’t crack your shower floor.
Step 2: Clean the threads of the base of the shower faucet. Be sure to remove any debris that had collected around the threads. It’s a good idea to put down some newspaper or paper towels in the tub so that you can remove the debris instead of washing it down the drain.
Step 3: Wrap the faucet threads with thread tape. This tape comes with almost all new shower faucets and heads and provides traction for the new hardware. Place a rubber “O”-ring inside the new shower head at any place that there is a water connection. This prevents a leaky faucet and improves water pressure.
Step 4: Tighten the hardware with a wrench. Turn the wrench to the right to to tighten.
Step 5: Test the temperature controlled handheld shower Head to make sure there are no leaks and that everything is working properly. Now you have a huge improvement in your bathroom for a minimal amount of cost and effort.


All works great, very high quality material and good packaging.
I got it just a one week. My 1,5 old Hans Grohe just broke down and happy to get this new one so fast. Quality seems very good and the plate is so shiny that it's like a mirror. Got rights parts for pipes. I recommend!
Excellent, I prefer this one than the other thinner ones.